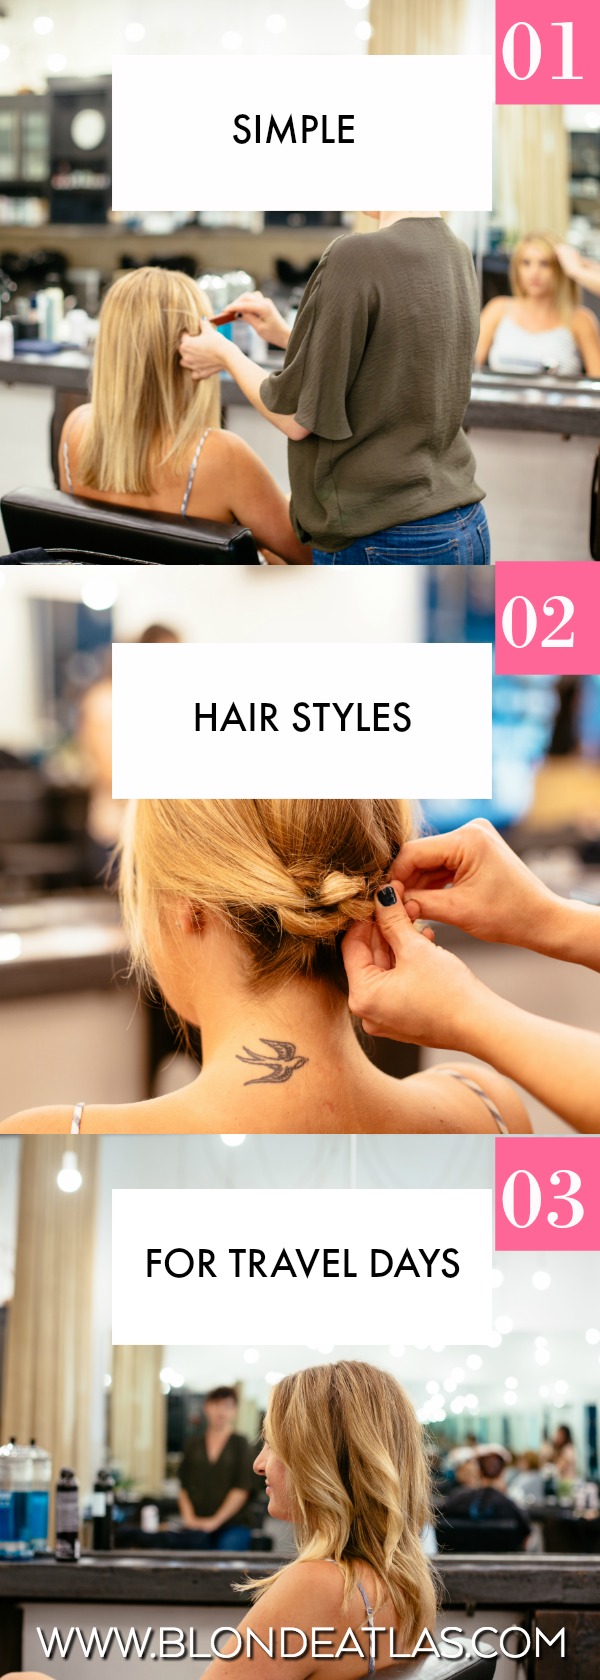
Hey friends! Hope your week is off to a great start. I'm finally back in the US after spending the last couple of months in Europe. It was another wonderful adventure and I still have so many travel guides that I'm working on sharing with you. But today, I'm taking a break from those to share some travel hacks I've recently discovered for your hair. Lately I've found myself needing to hit the ground running right after a flight when I land in a new destination; and no matter how much effort I seem to put into my hair before takeoff, once I reach my destination it always looks terrible (especially on those transatlantic red-eyes abroad).
I went to my hairdresser Lauren at Fruition Salon to get her expertise in this department. I warned her that I'm lazy and needed options that were easy and required little skill. But I also wanted something that would actually look good hours (sometimes a whole day) later. She showed me two super easy ways you can style + set your hair before a travel day that actually leave your hair looking freshly styled upon arrival (and I can vouch that these are easy enough to replicate on your own).
Before we started styling, we blowdried my hair with a lift hold mousse and put some dry shampoo at my root (this preventatively absorb oils as you wear it so when you take it down to wear it's nice and fresh).

Speaking of products, these are the only ones we used to create these styles if you want to use the same ones. I'll speak to them as we go through each step.


Regarding tools, just be sure you have a comb, bobby pins, hair ties and something to section off your hair with.

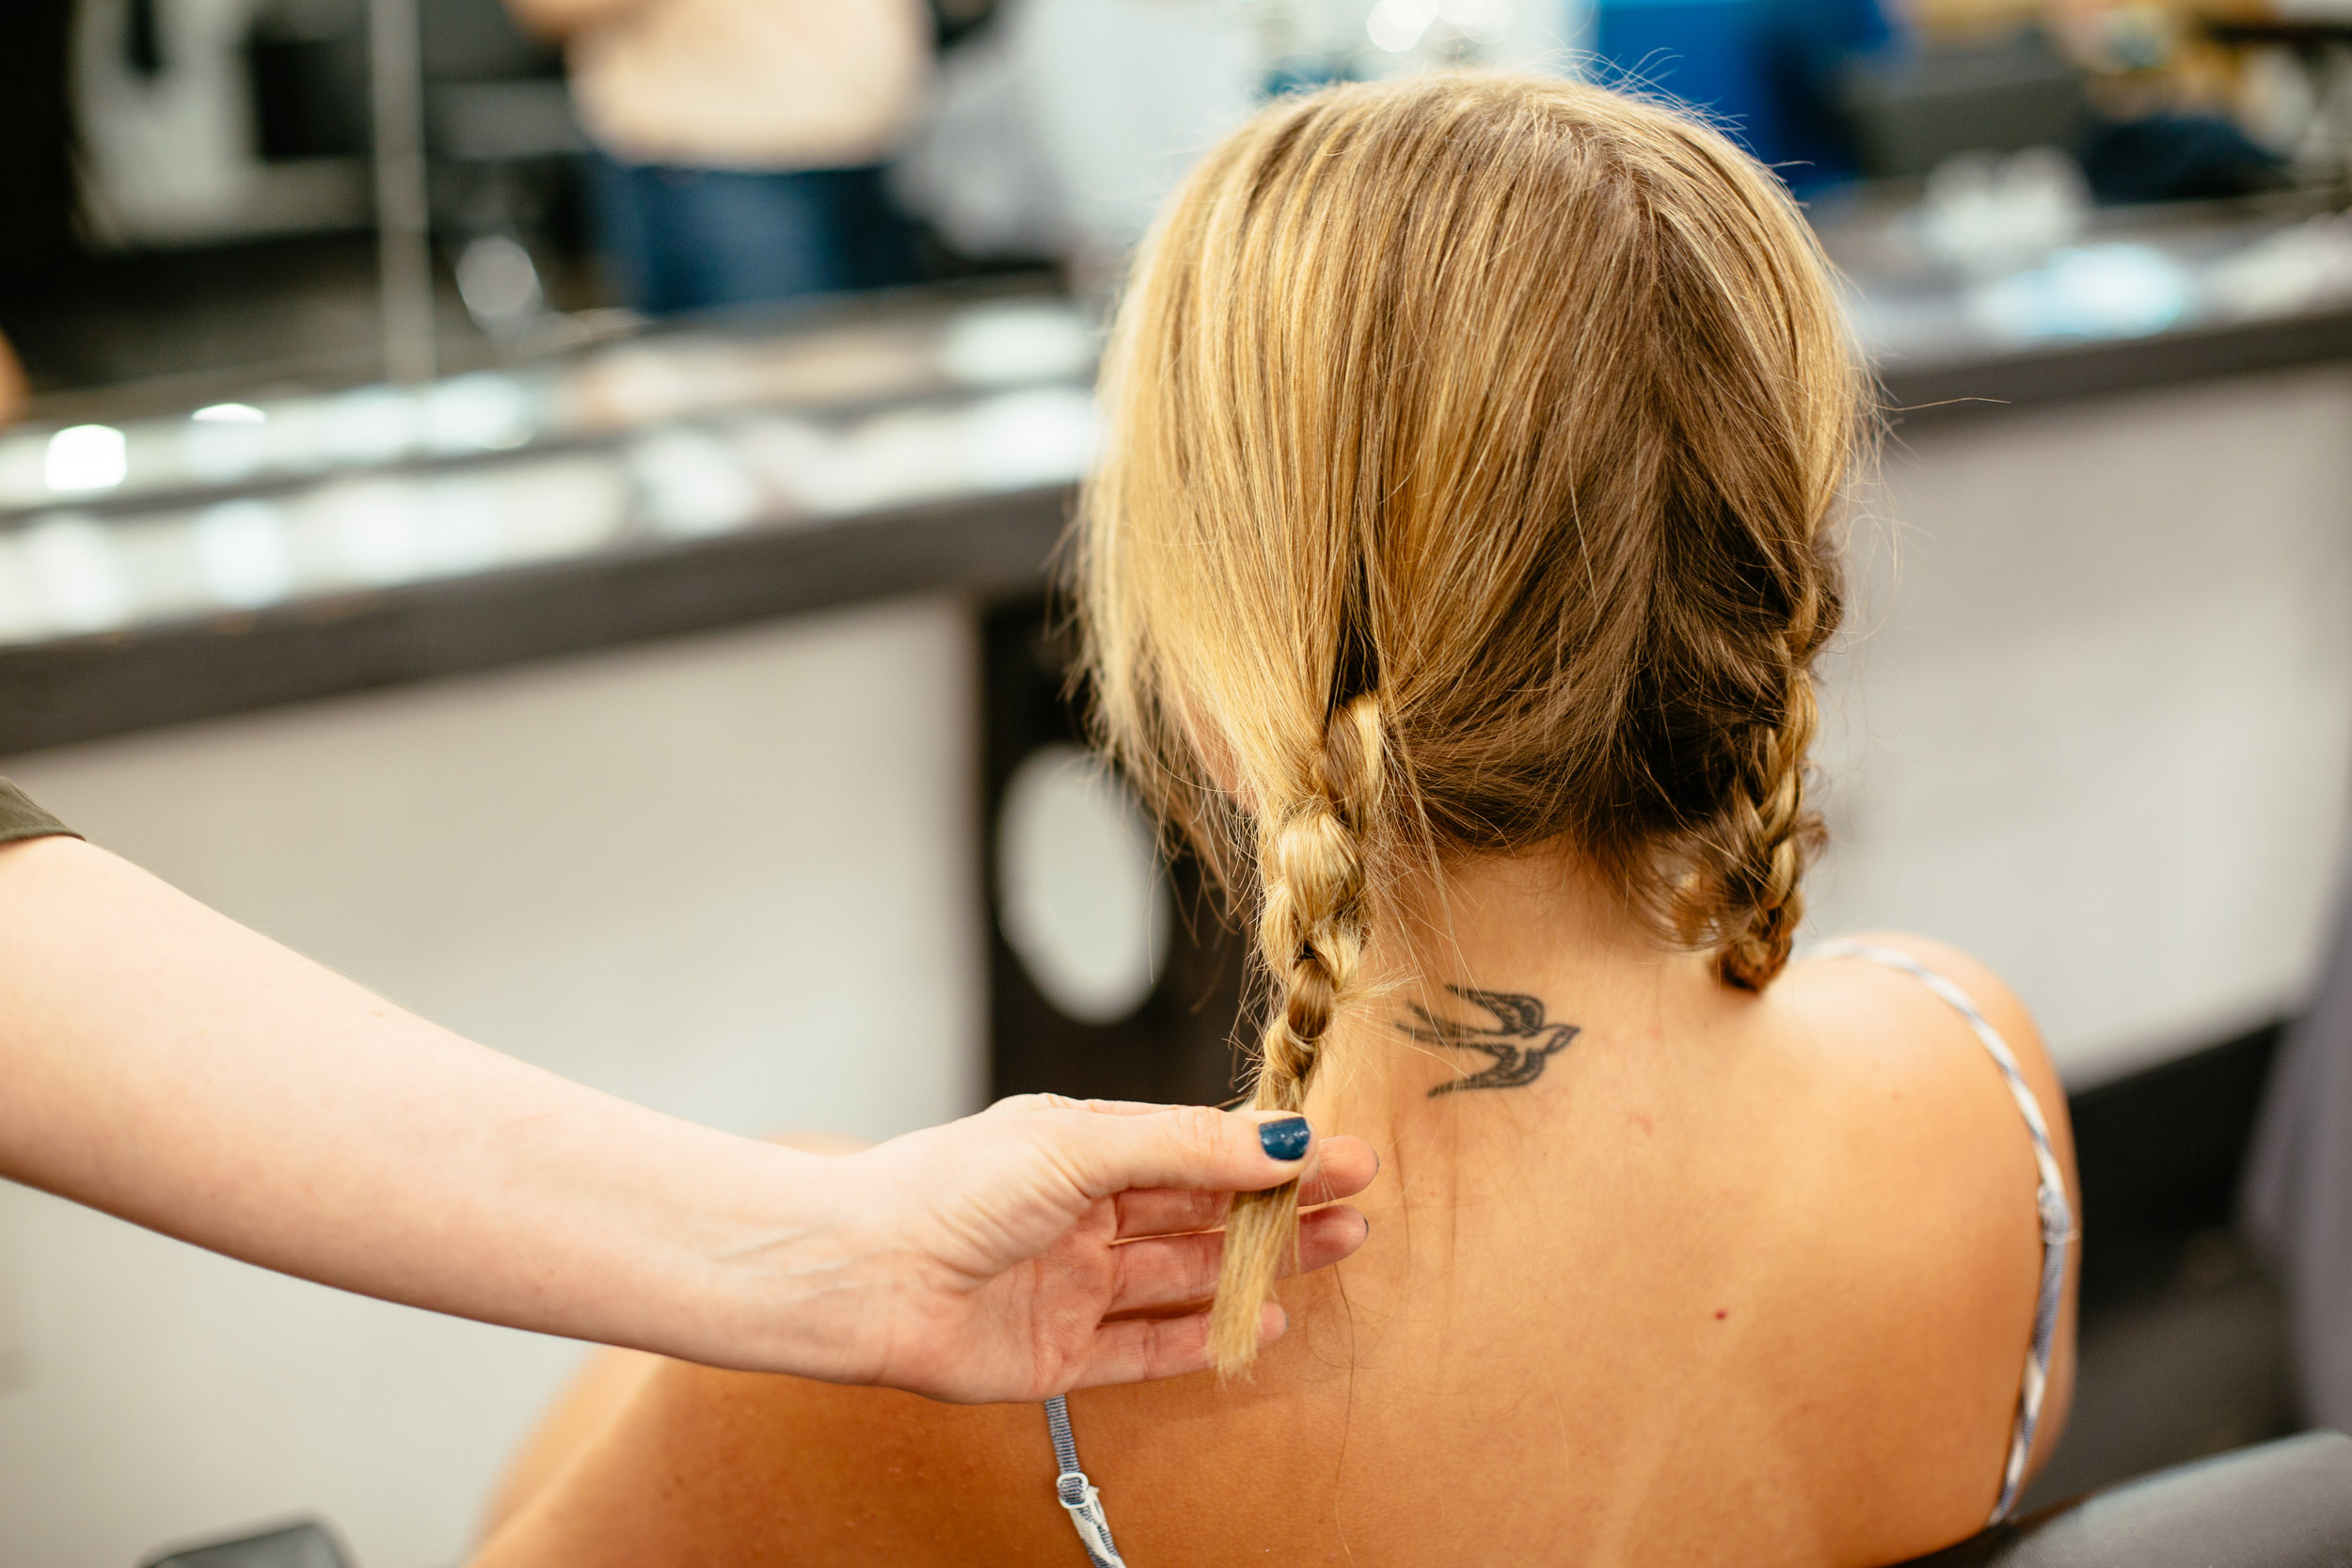
STYLE 1: BRAID TWISTS for beach waves
1. Divide hair into two sections on each side (4 sections total).


3. Begin to braid (be sure to start at the section of your hair that you want the waves to begin, not all the way at the root. We started more eye-level along my cheek bone). If you have thick hair and are wanting more control, braids should be tighter and closer to the head. If you are wanting more volume (which we wanted for my hair) let the braid be slightly more "loose."

4. Once you finish braiding two sections on one half of your hair, you'll twist them together, overlapping the front braid over the back. Pin them over the ends to hold the braids together.

5. Repeat on the opposite side. As you pin each half, you should pin them into the opposite back section, overlapping the braids to create a more seamless finish. With longer hair you may need an additional pin or two to tuck in the ends.

You’ll leave your hair set like this while you travel until you reach your destination and are ready to take it down.
*If you want to create this same look in a short window of time, simply take a heat tool (we used a straightener) to run over each section of hair a few times before pinning.

When you take your hair down, finish with some perfecting hairspray and enjoy your beach waves!
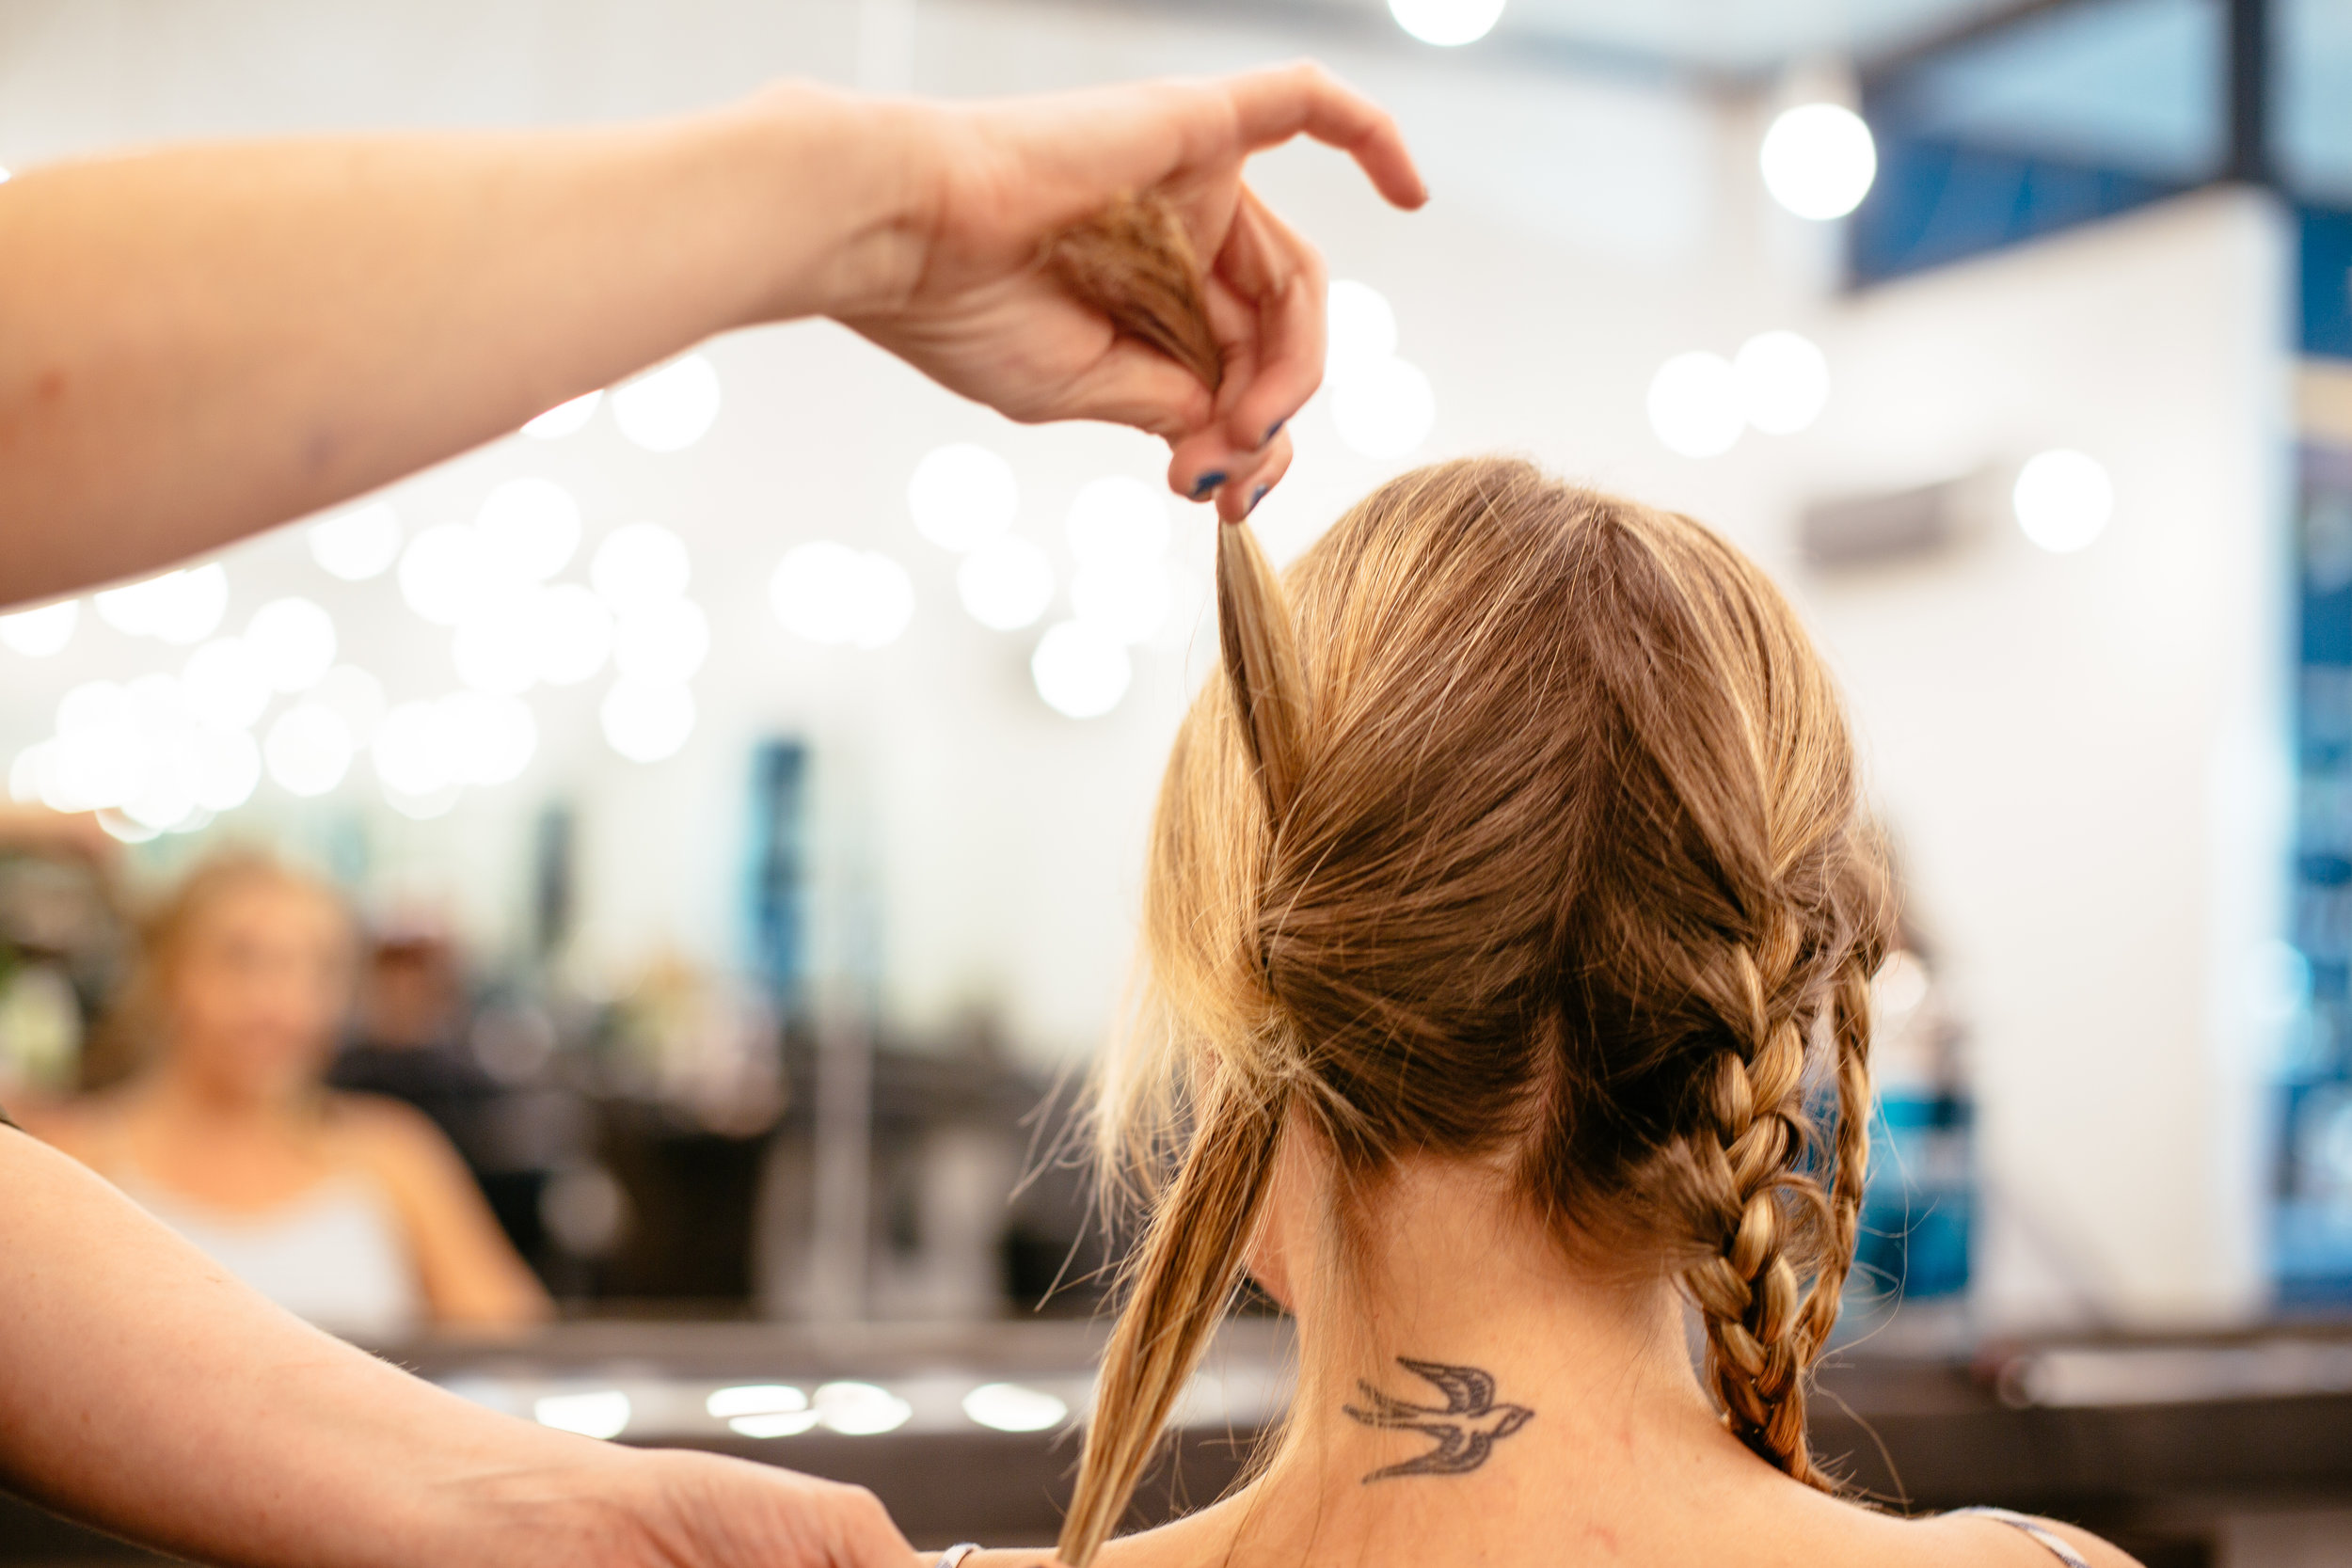
STYLE 2: KNOT TWISTS for bouncy curls
For this style, only pay attention to the left side of the back of my head (for the sake of time, we split my hair in half so we could demonstrate both styles in a shorter period of time!)
1. Divide hair into two sections on each side (4 sections total) and spray the sections with Blowdry Primer.

2. Starting on one side, tie two of the sections in a knot.
3. Continue to tie the strands in knots over and over until you reach the end of your hair.

3. Use bobby pins to tuck the ends into the center.
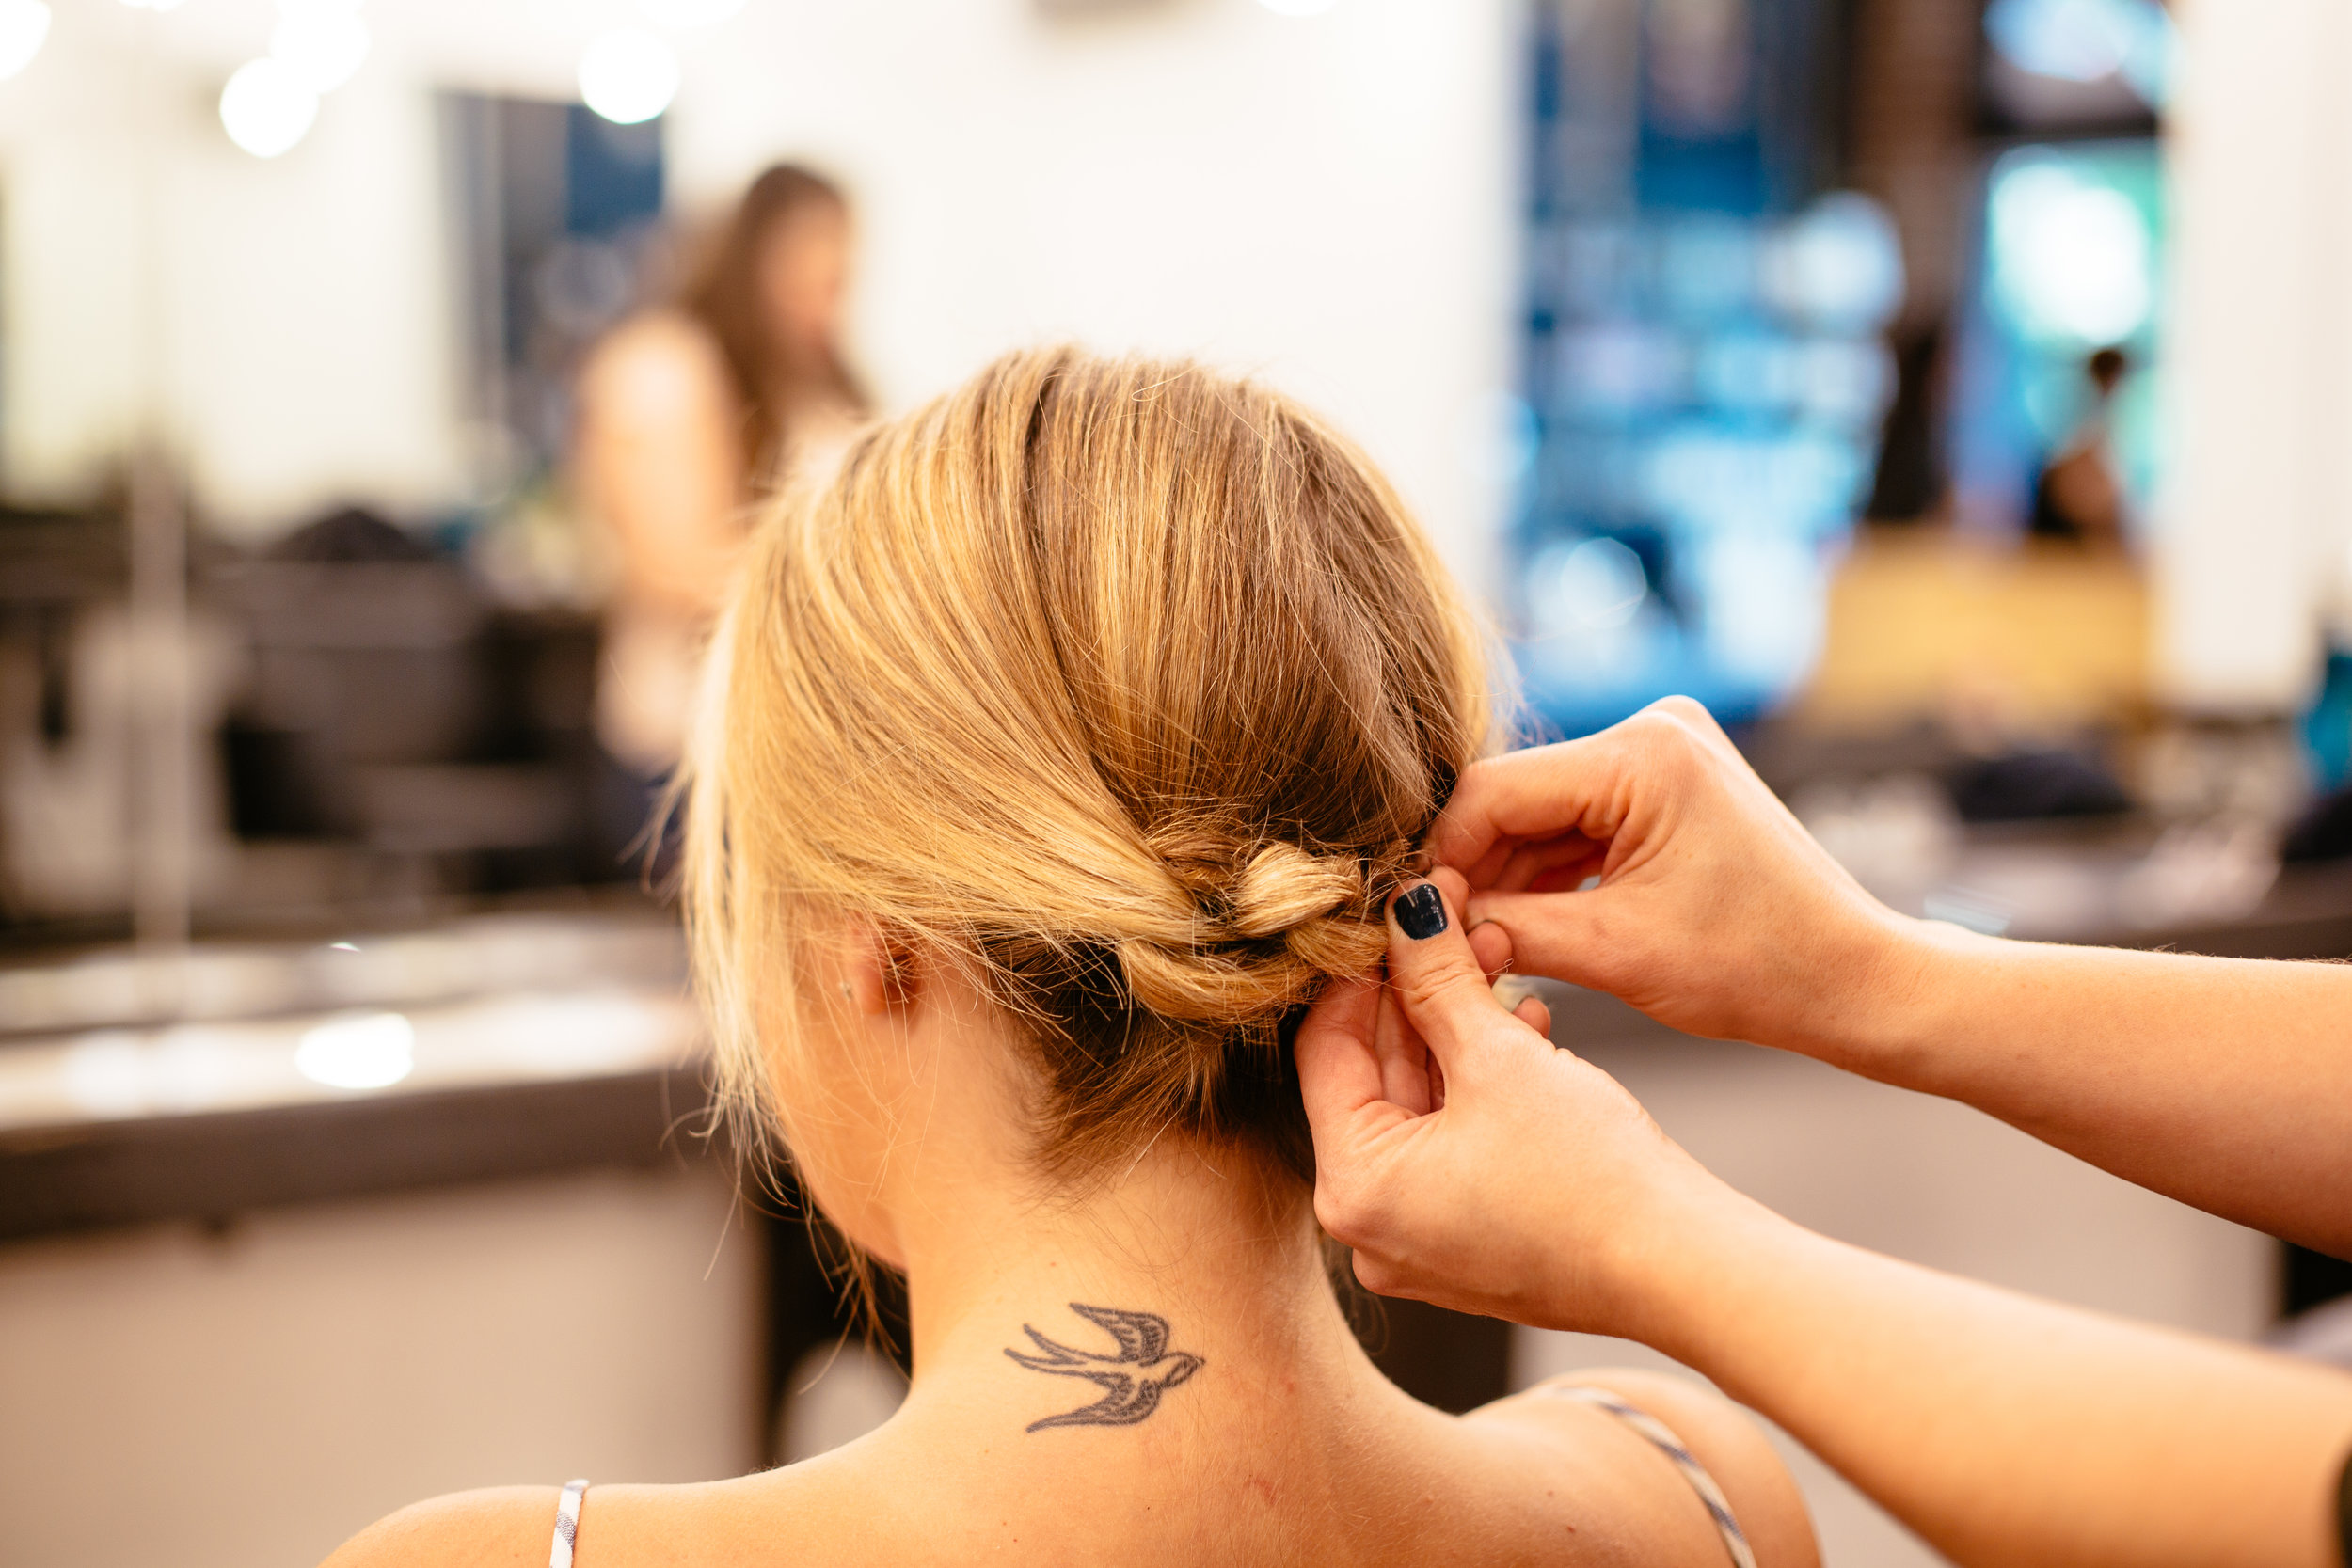
4. Repeat on the other side. Similar to the last style, you'll want to pin the two sections together to create a more seamless finish.

Once again, you’ll leave your hair set like this while you travel until you reach your destination and are ready to take it down.
*If you want to create this same look in a short window of time, simply take a heat tool (we used a straightener) to run over each section of hair a few times before pinning.
When you take your hair down, finish with some perfecting hairspray and enjoy your bouncy, natural curls!
Both of these took less than 15 minutes to style and left my hair looking far better than it ever has when I travel. Not only will these be great options while on a plane, but I'll probably even sleep with my hair in either style any night while I'm traveling and I don't want to mess with heat tools. I can't thank Lauren enough for teaching me these hacks and I hope you find them helpful for your next travel day!
Want to book an appointment with Lauren? Click the button below or call 615.298.7771.
Thanks so much for stopping by! I'll be back to sharing some more travel guides soon (and I have some new adventures on the horizon!) I'm excited to share more about both with you in the near future. Until then, have a great week!
xx
Whitney